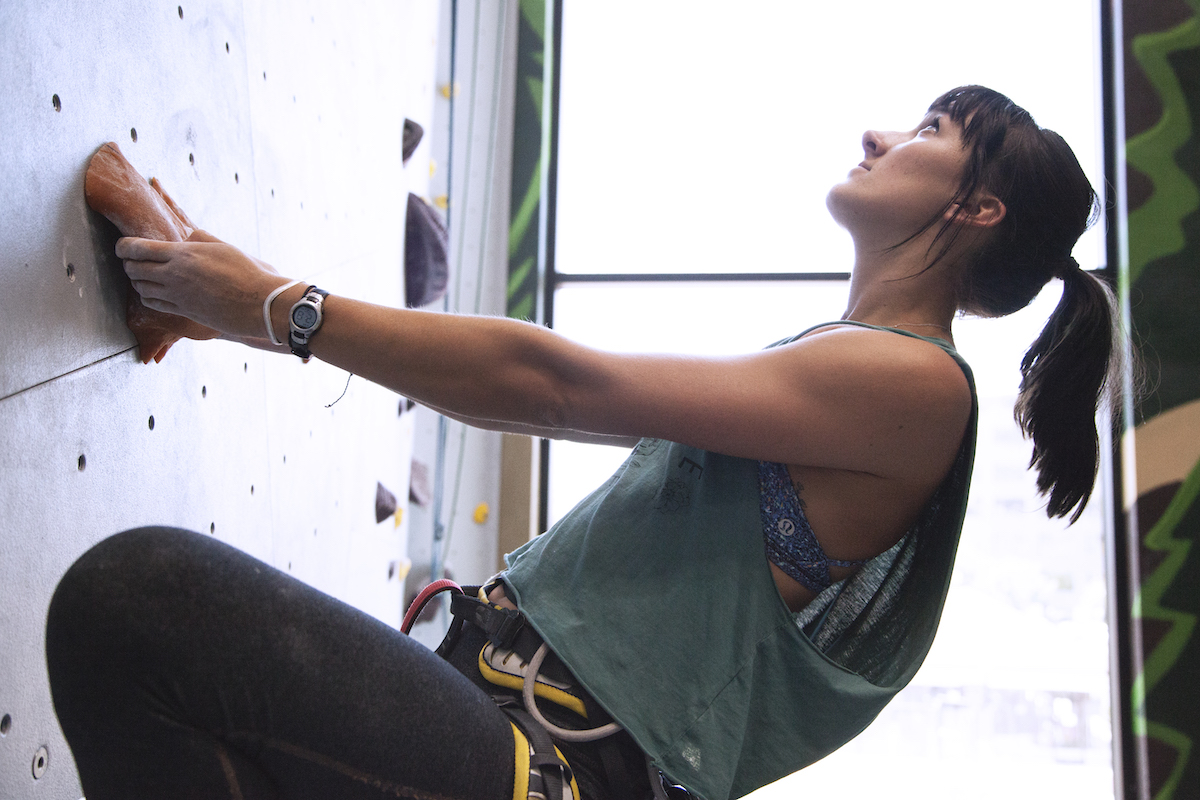
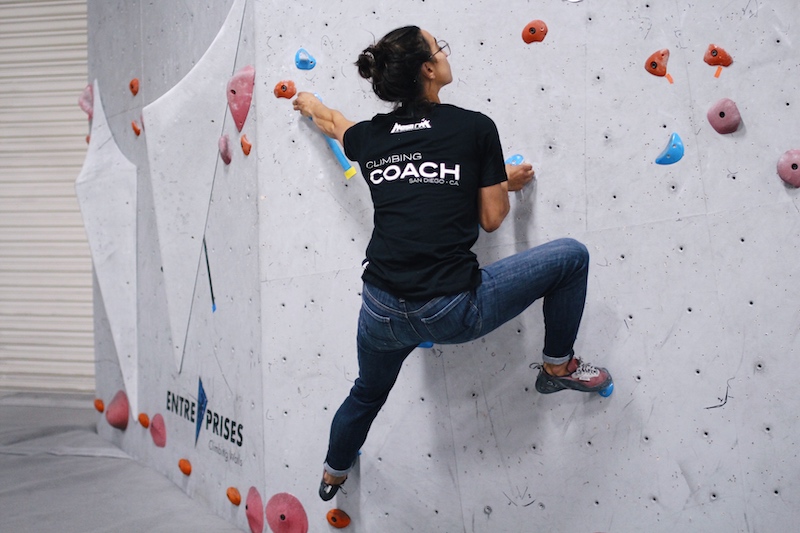
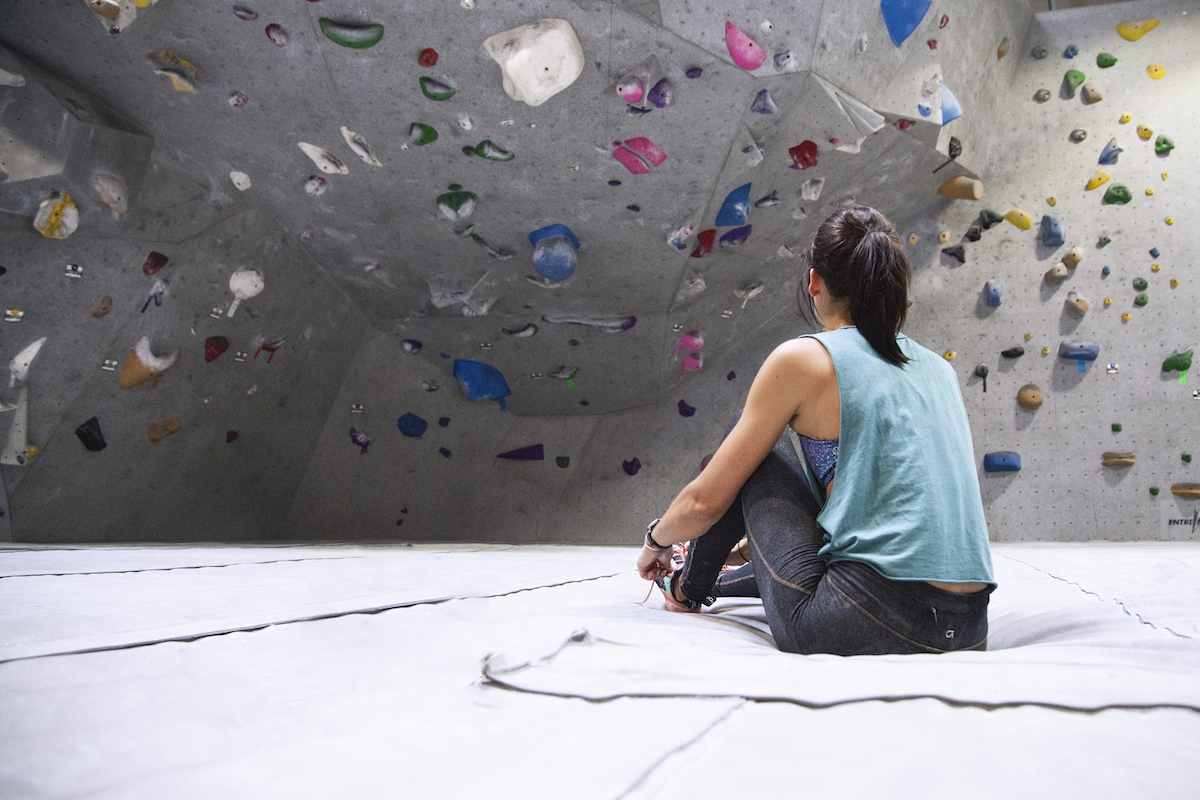
The Climbing Technique Stations are a part of the Climbing Fundamentals Area where you can explore vertical terrain before heading out on the floor. Broken down into small, digestible lessons, these stations are designed to guide you through the foundational concepts of climbing such as basic climbing terminology, efficient foot placement, and different body positions.
THE STATIONS
STATION 1: GETTING COMFORTABLE ON YOUR FEET
Becoming an efficient climber requires an understanding of your climbing shoes, the climbing shoe rubber, and how it feels to stand on different types of climbing holds. At this station, experiment with different foot holds while changing up the way in which your foot is positioned on each of them.
DIFFERENT WAYS TO USE YOUR FEET:
EDGING
Placing the very edge of your shoe on a pronounced edge of rock. While edging can be done with any part of the shoe, it is most commonly and effectively done with the inside or outside edge of the shoe closest to the toe.
SMEARING
The act of pressing the sole of your shoe directly onto the rock or slab using friction between the shoe rubber and rock to make upward progression.
EDGING
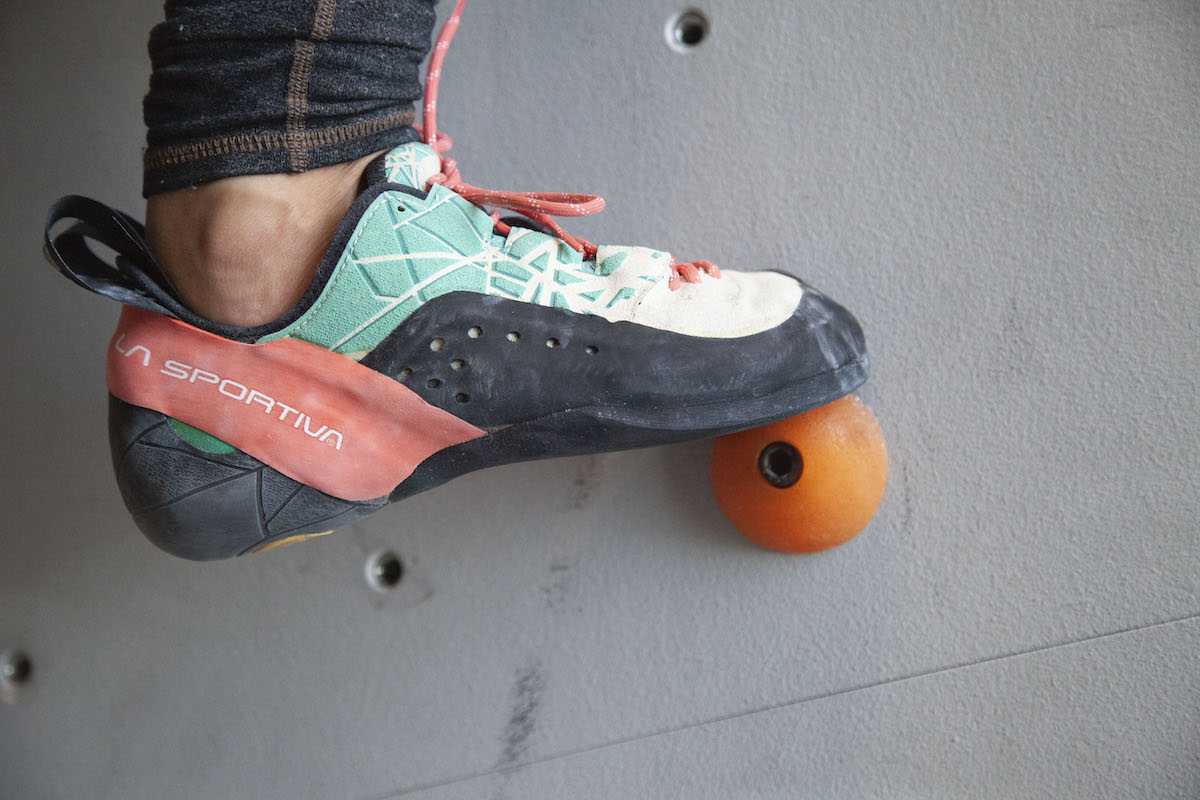
EFFICIENT EDGE
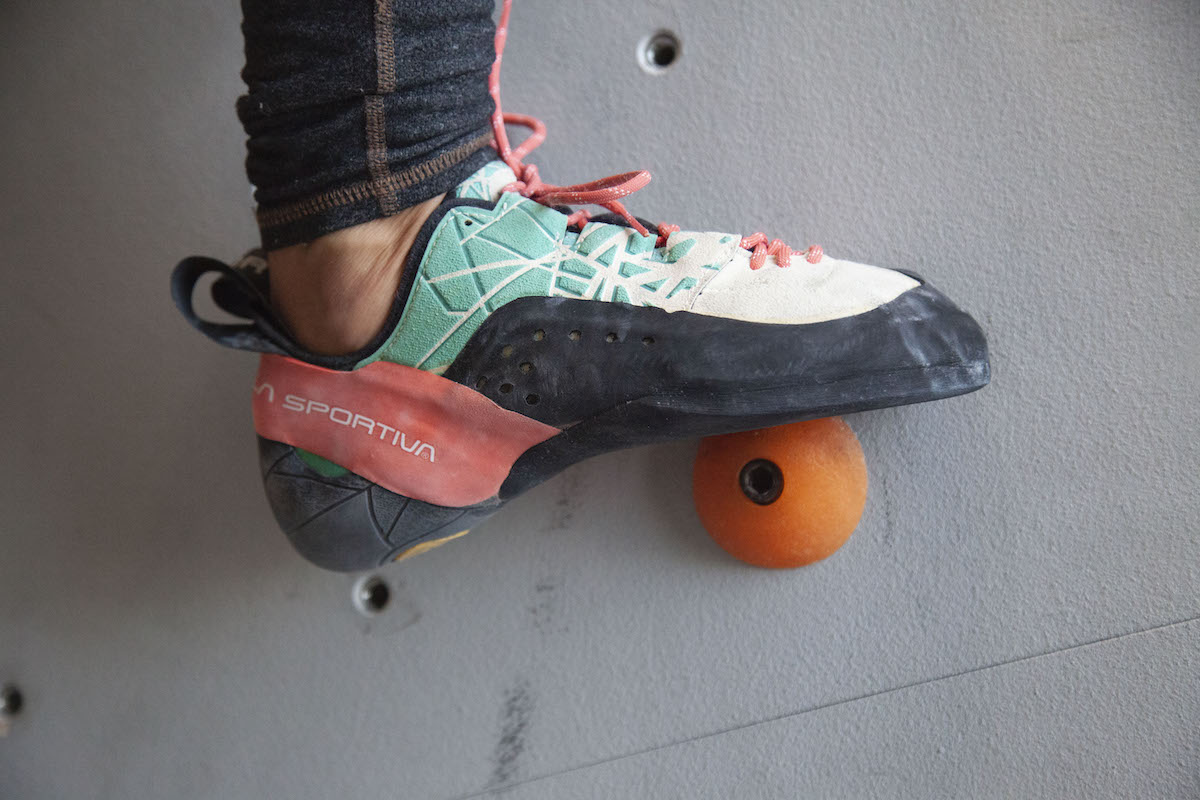
INEFFICIENT EDGE
SMEARING
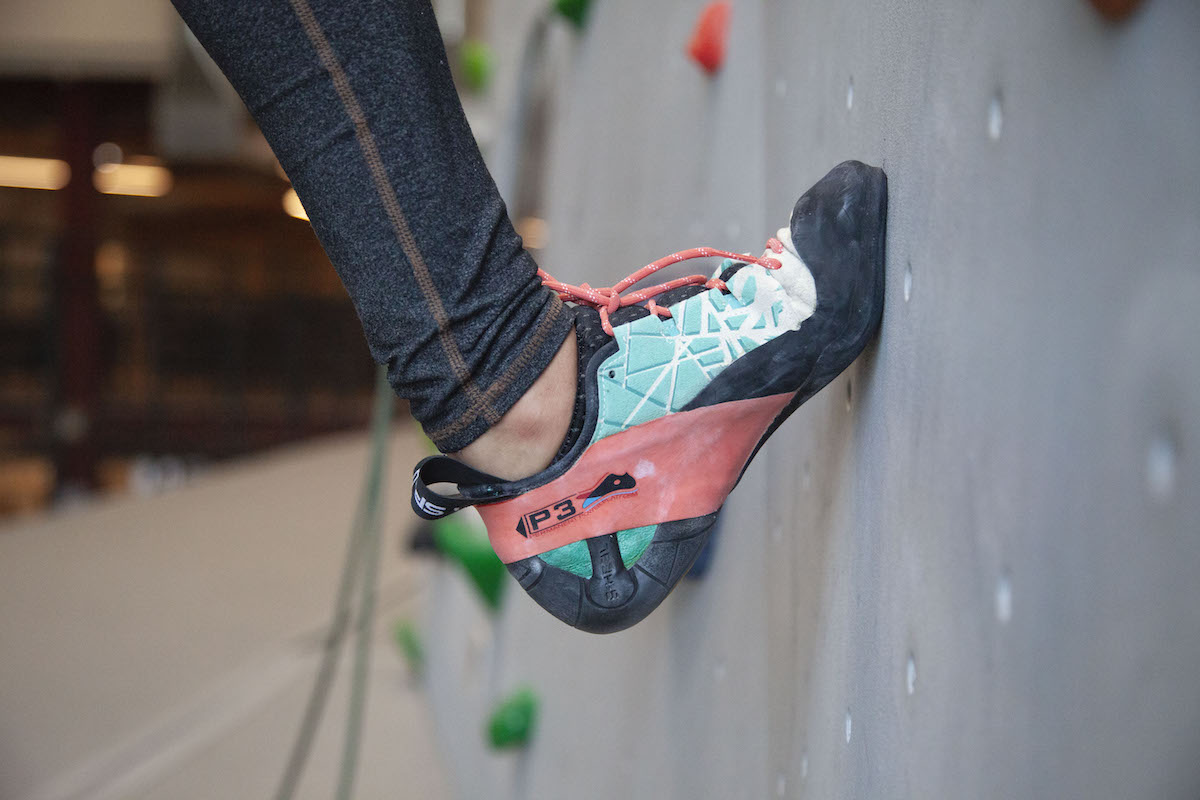
SMEAR ON WALL
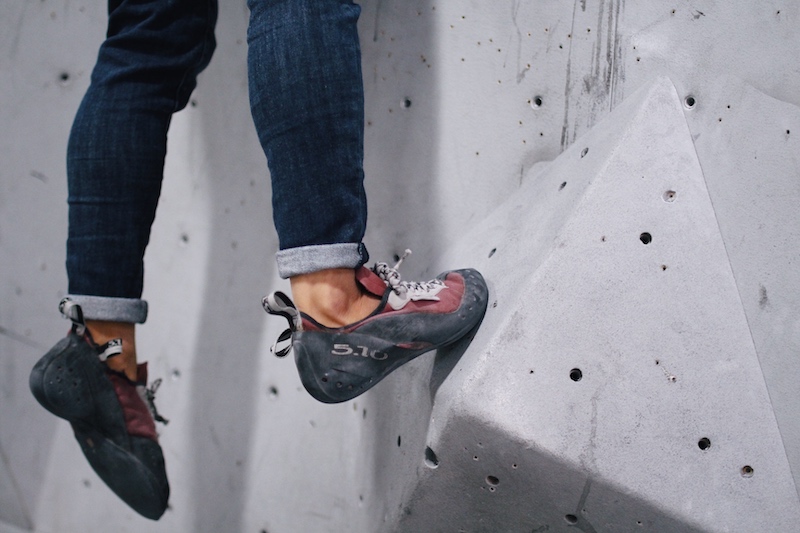
SMEAR ON HOLD OR VOLUME
STATION 2: LEARNING THE HOLDS & USING YOUR HANDS
Climbing vocabulary is complex and unique. A great way to start the learning process is to understand the different types of hand holds, their names, and how to spot them. But knowing the names is just one step of the journey; it’s also important to get familiar with how they feel.
PRACTICE:
Learn the different types of hand holds and see how many different ways you can grip them.
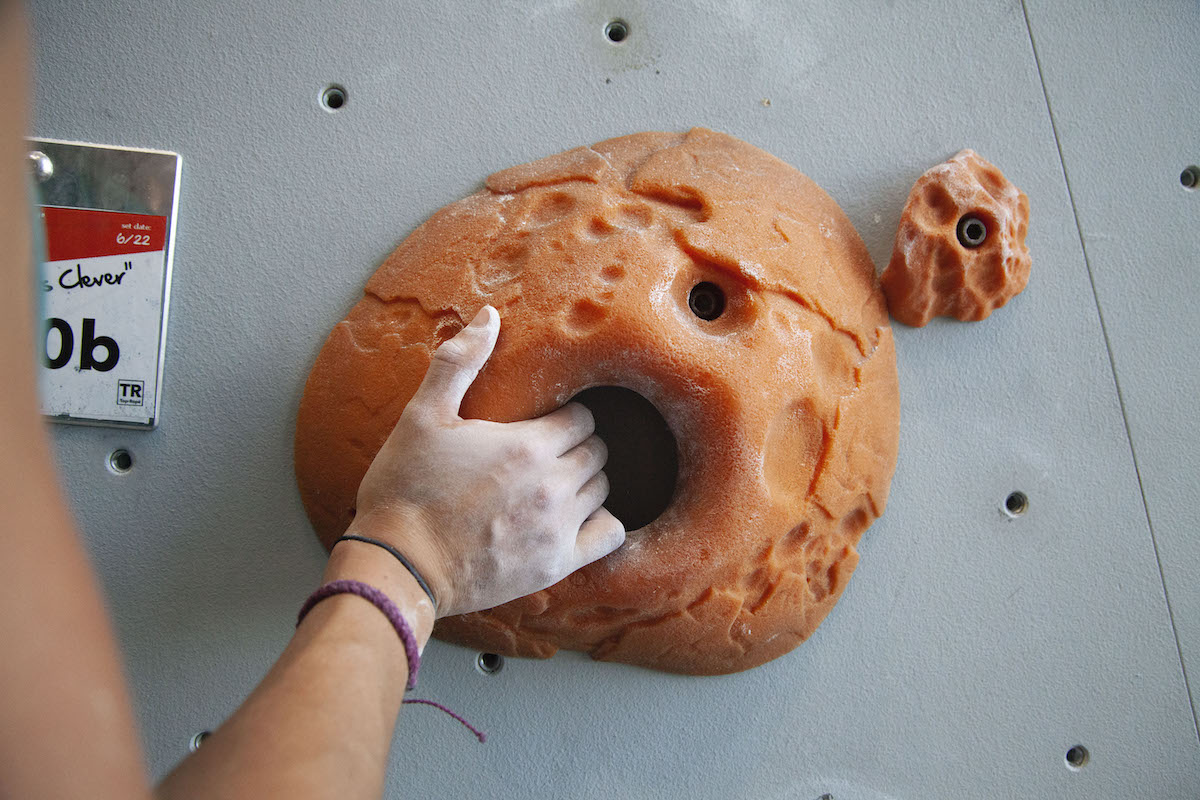
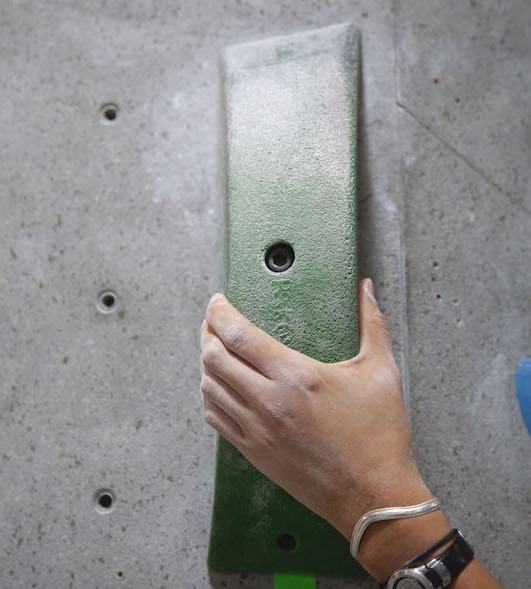
PINCH
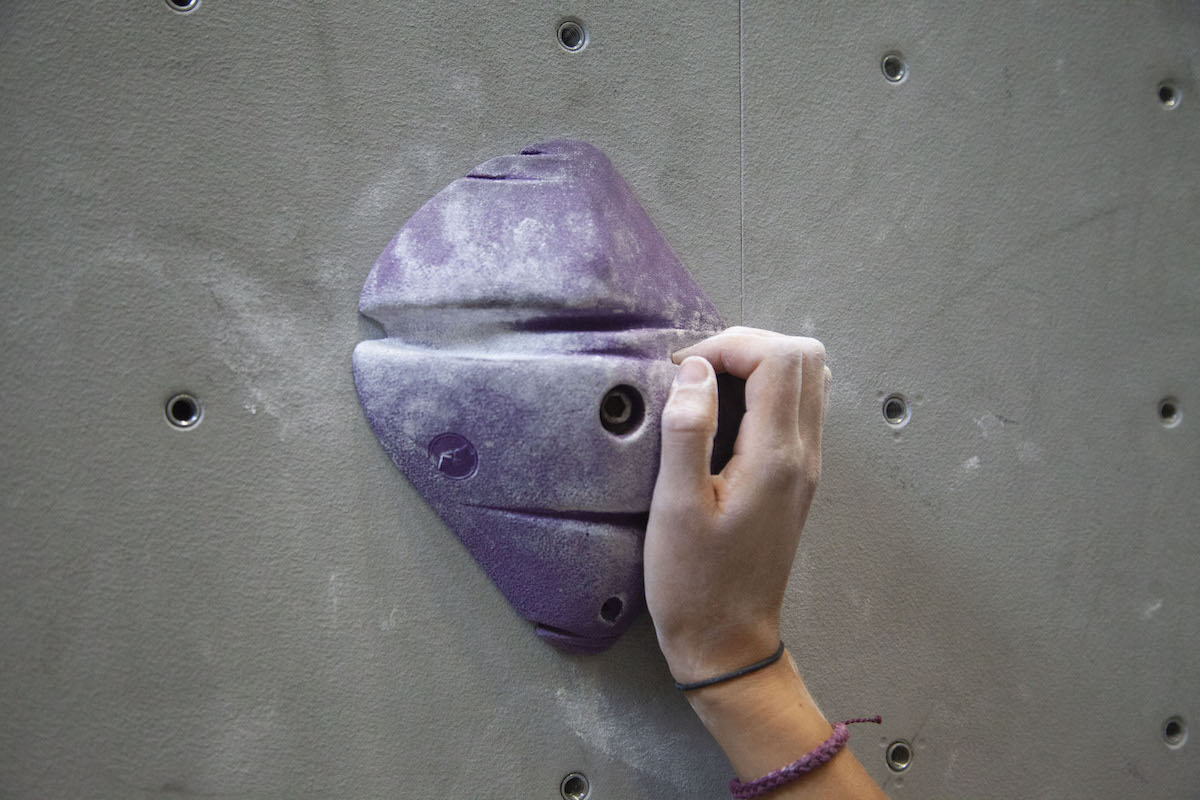
CRIMP
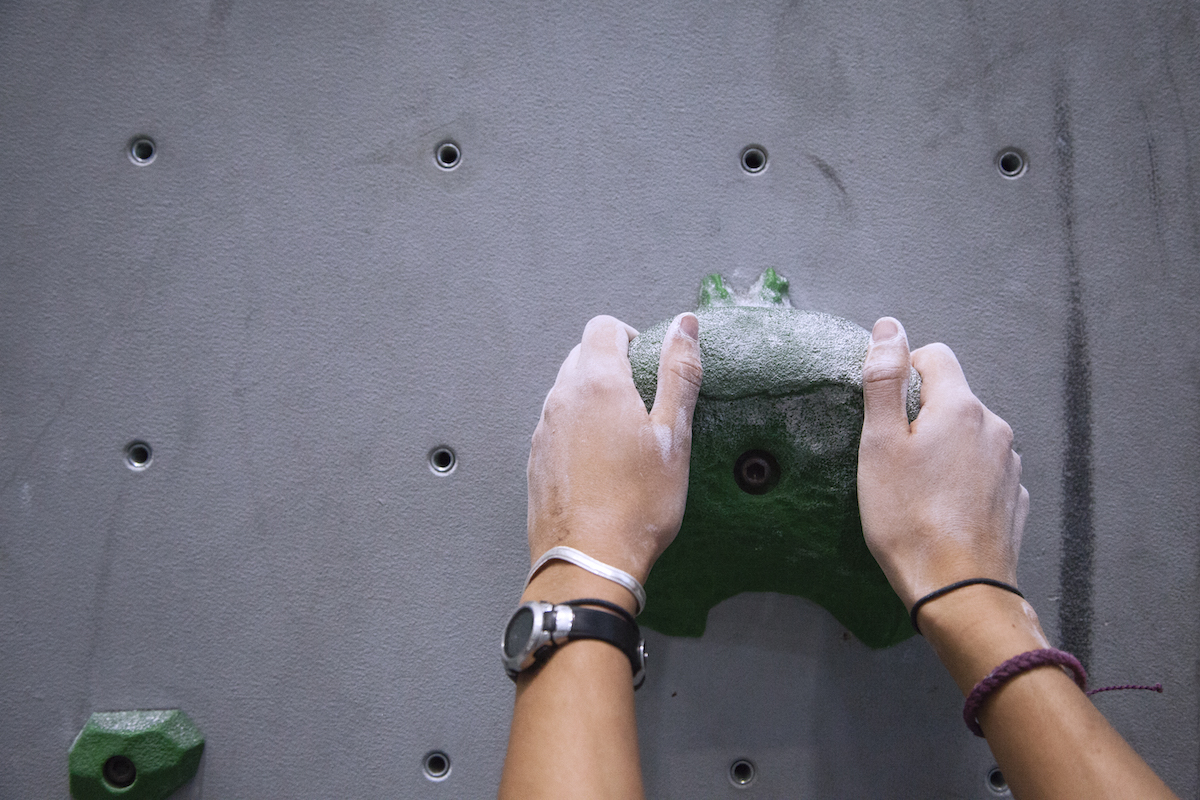
JUG
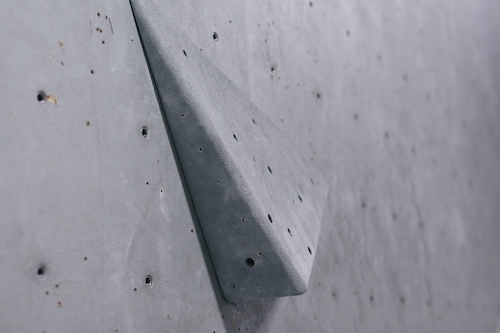
VOLUME
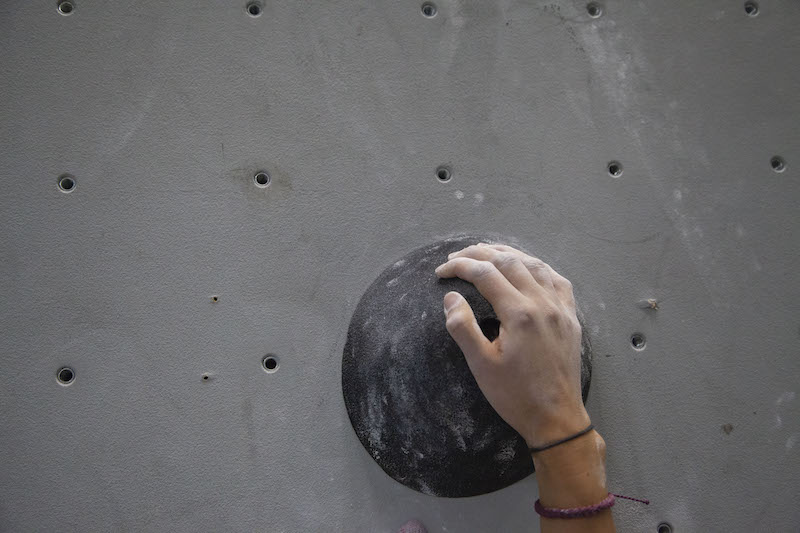
SLOPER
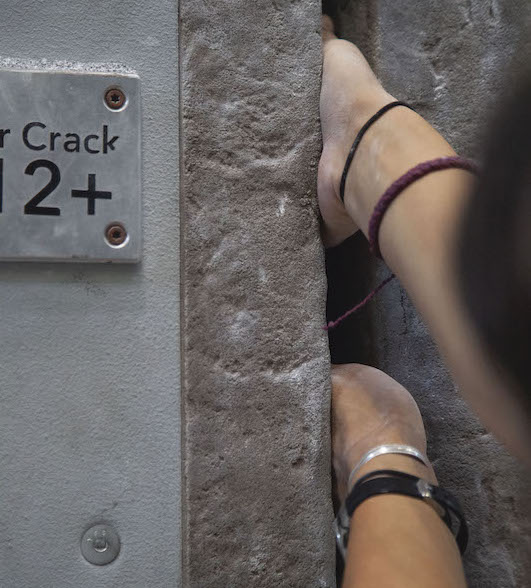
CRACK
STATION 3: COMBINING THE HANDS AND FEET
Now that you’re familiar with your shoes, know the names of the holds, and have experimented with both separately, it’s time to combine the two. This station will help you understand the different direction of holds and how your can manipulate your body to move efficiently through uncomfortable positions.
PRACTICE:
Choose a few variations of holds and practice just holding yourself in one position on the wall. See how you can make uncomfortable positions feel comfortable with the shift of your heel or change the direction your body is facing, for example.
TRY OUT DIFFERENCE COMBINATIONS OF:
Hand hold directions:
- Down pull
- Side pull
- Undercling
- Gaston
Points of contact:
- Left hand, right foot only
- All four limbs on the wall
- One foot, both hands
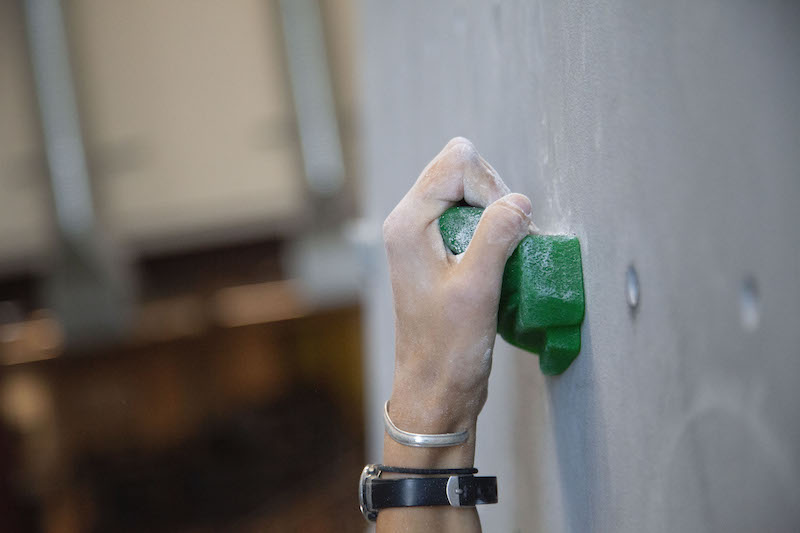
DOWN PULL
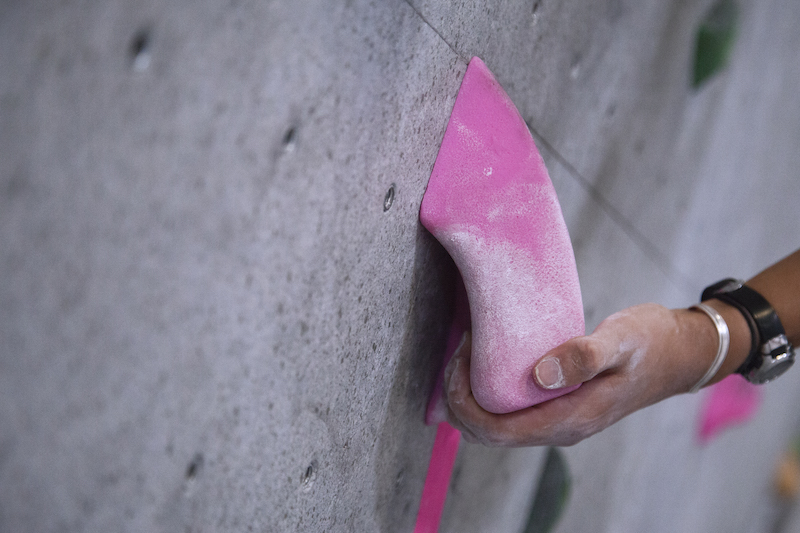
UNDERCLING
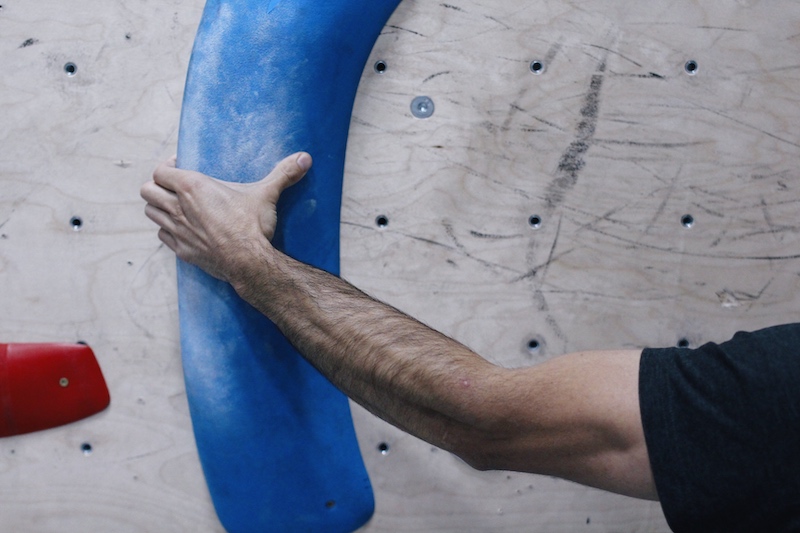
SIDE PULL
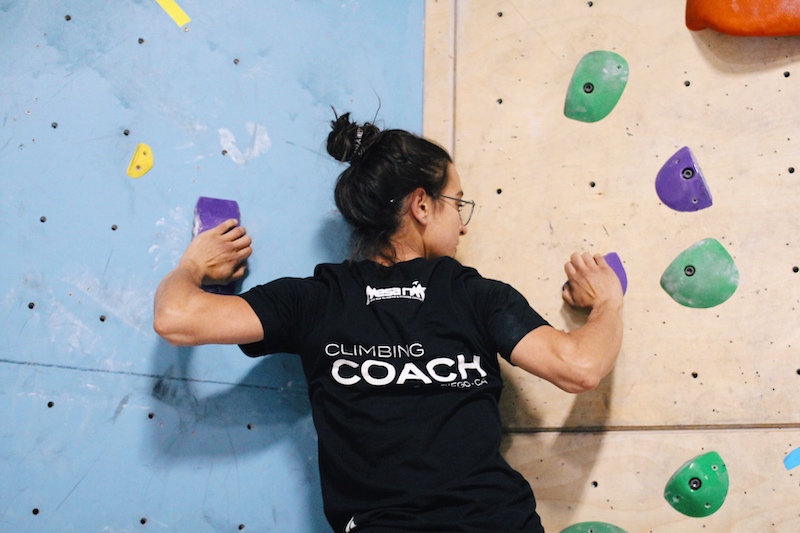
GASTON
STATION 4: PUTTING IT ALL TOGETHER
PRACTICE:
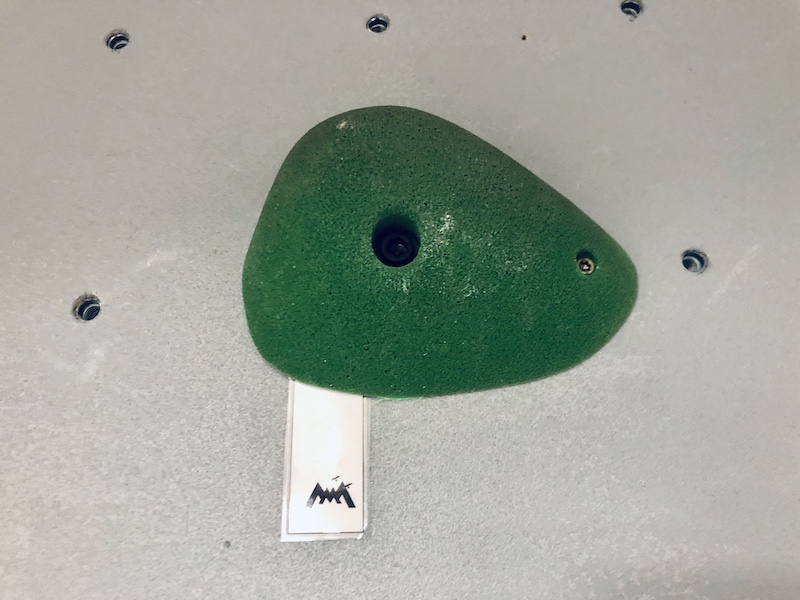
To start a climb, match (control with two hands) the hold that has the white start tag and any hold below it. Once your feet are off the ground you have established on the boulder and can start to climb! Practice climbing these boulders using the two different basic climbing positions such as those included in the “Square Position” and “Backstep” videos.
- Square Position: Use the inside edge of your shoe with shoulders & hips facing the wall.
- Backstep: Use the outside edge of your shoe to turn your hips & shoulders perpendicular to the wall.
STATION 5: STARTING, FINISHING, & GRADING SYSTEMS
HOW TO COMPLETE—AKA “SEND”—A ROUTE OR PROBLEM
1. Choose a grade range based your experience and skill level
- Boulders are set with color-coded tags that represent the difficulty of the grade ranging from green to black (see “Boulder Grading System” image for reference).
- Ropes start at 5.5 and increase in difficulty, numerically (5.6, 5.7, etc.).
2. Choose a route that matches your determined grade range
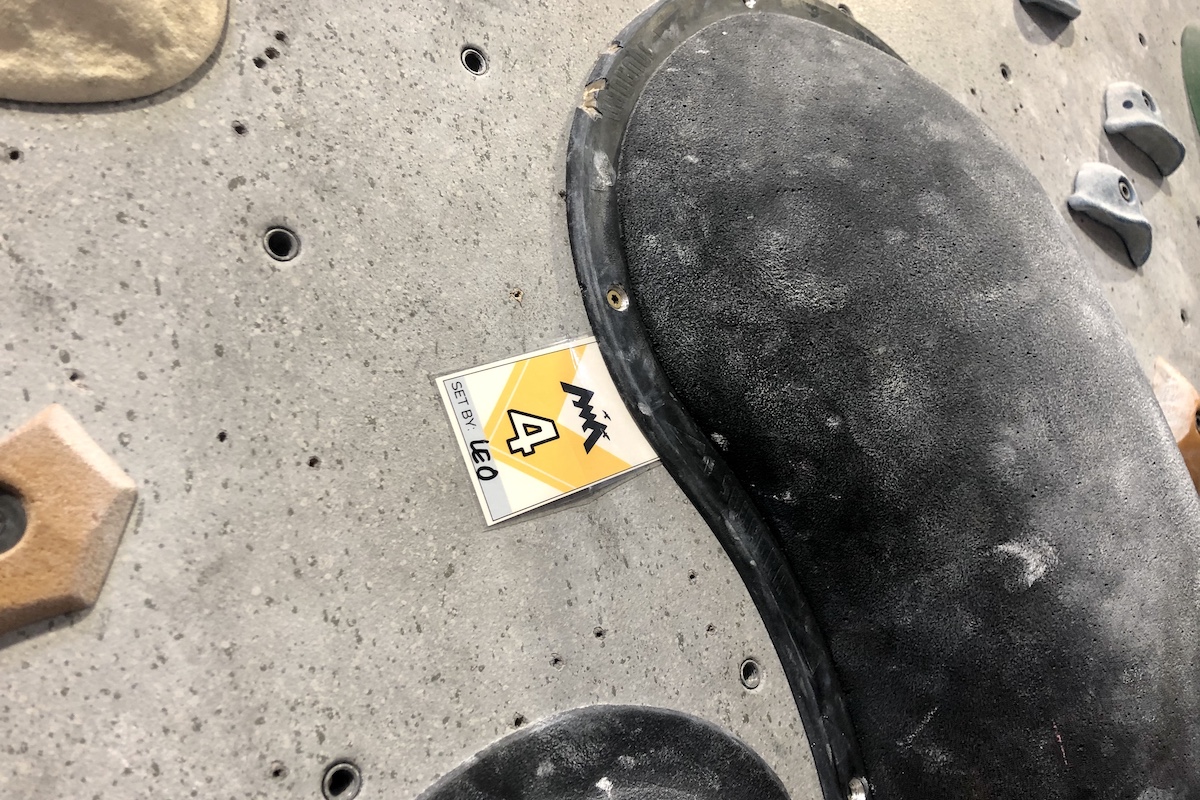
- Boulder starts are indicated by a grade tag (see “Boulder Start Tag” image). Start with one or both hands on that hold or one hand on that hold and the other one at the same height or below.
- Rope starts are indicated by a grade tag (see “Rope Start Tag” image). Start on ropes using any hold/holds that are within reach from the ground.
3. Climb the route using the same colored holds as the start hold/s
- Complete a boulder by either matching both hands to the top of the wall or to a hold with a finish tag (see “Boulder Finish Tag” image).
- Complete a roped route by matching both hands to the top of the wall.
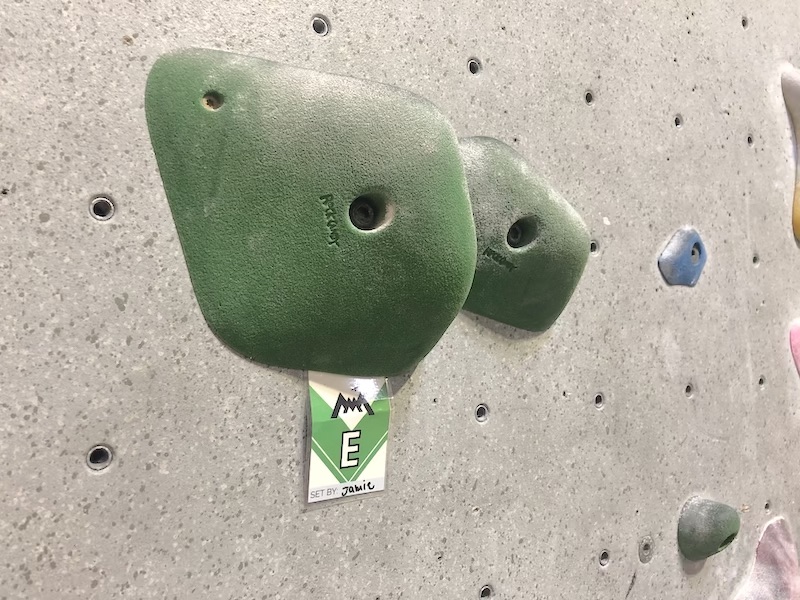
BOULDER START TAG
BOULDER FINISH TAG
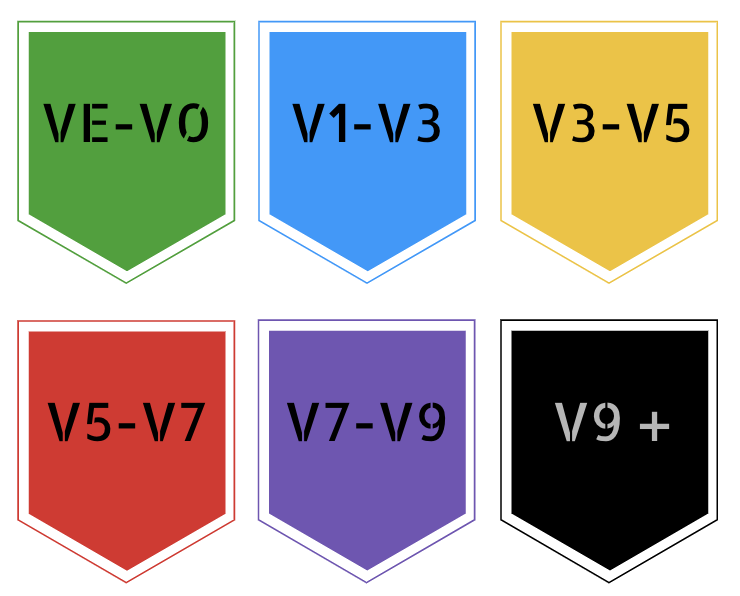
BOULDER GRADING SYSTEM
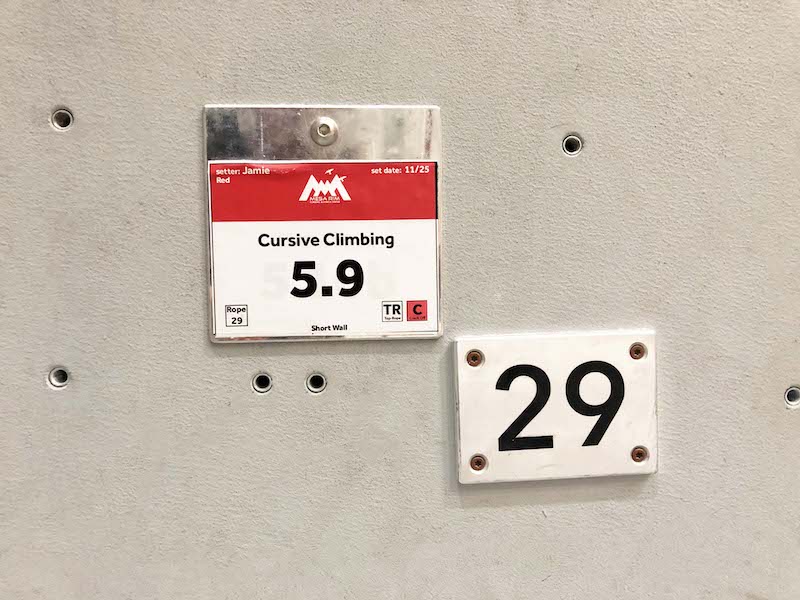
ROPE START TAG
STATION 6: TAKE IT TO THE FLOOR
PRACTICE:
Head out to the bouldering area and find the other Movement Stations—you’ll find a QR code next to the start holds—or head to your belay lesson to learn the ropes!
You can also get a leg up on each of the Movement Stations by clicking any one of the movements listed below.
Want more info or guidance? Check out our FREE Intro to Climbing classes and/or chat with a front desk staff member.
